If you have an old chair that has seen its better days, this is the perfect project! This was an old chair that had a few different finishes over the years, and I really wanted to create another DIY planter chair. I had a few of these years ago and thought it would be wonderful in front of my studio!
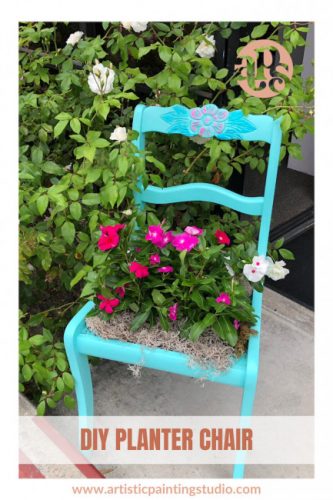
DIY Planter Chair Tutorial
I first sanded off the old finish and primed the entire chair with Bondago to start off the project.
Then I painted the entire chair with DIY paint Old 57. Apply as many coats that are necessary to create the coverage you desire. I painted two complete coats for opaque coverage.

Once the Old 57 was dry, I brushed on our Foil Adhesive over the floral design on the top slate of the chair. Make sure to allow the foil adhesive to dry for about an hour or longer.
After the Foil Adhesive dried for an hour, I cut some small pieces of the Teal and Pink metallic foils. I then scrubbed the foil over the areas I wanted to apply the foils to using a stiff toothbrush. I created this to be more of a distressed finish by not trying to transfer 100% of the foil, allowing the base coat to still show.
I finished the chair by using General Finishes Exterior Top Coat. I applied several layers to protect the chair well.
Now it’s time to add flowers!
I used chicken wire and a staple gun to attach the chicken wire to the chair. Make sure to glove up for this step so you don't cut your hands.
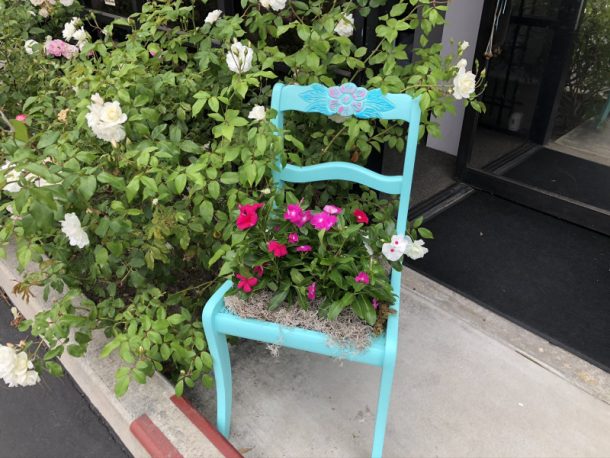
I lined the chicken wire with moss and then planted the chair with some seasonal flowers.
This was such a fun project and it's a great way to welcome our customers to the studio! Have fun making a planter chair for your home or office!