I absolutely love playing with Epoxy!! This is such a fun medium to work with and you can do so much with it. We currently use the Liquid Glass Epoxy which we carry kits in 4 different sizes, so no matter what size your project is we have a kit that should work for you. Today I am going to be showing you a simple epoxy pour over metallic foils.
Then when I am pouring the mix, I add part "B" first into my measuring cup and then add part "A". These should both be equal amounts. Stir very well for about 2 minutes, scraping the sides and bottom of the container as you mix. Then pour the mixture over your project!
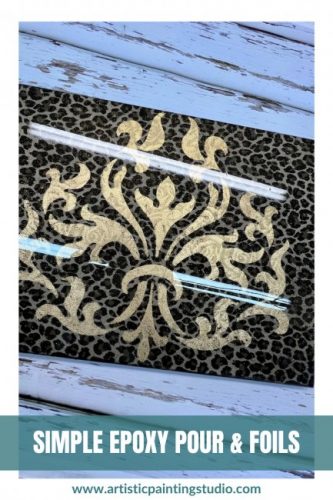
In this video, I am using the Liquid Glass on a foiled board that I created. This was done with metallic foils, Wild Leopard Spots Large Gold, and Ramsey Rose Gold.
Make sure that your surface area is level when doing an epoxy pour. This is very important so that the epoxy will self-level and be even across your surface area.
Using my hands, I move the epoxy across the surface and then over the sides of my project. To bring the bubbles to the surface, I use a blow torch keeping it away from the surface about 8 to 10”, and make sure to keep moving the torch at all times. You do not want to burn the surface of the epoxy. But the blow torch will bring the bubbles to the surface and clear out the epoxy.
Then you will let it sit and dry. This will take hours... I usually don’t move my projects for at least 4 to 8 hours.
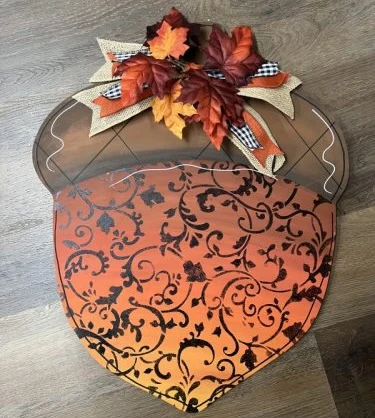
This project was turned into a serving tray by adding handles to the top side and ball feet to the bottom!!