This is a project that has been in the works for over a year now, and I’m sure some of you can relate to projects getting started and taking forever to get finished.
Whether I got bored with the project, or I just didn’t like what I was doing, I have had many projects go sit in the corner until I figured out something else for them.

Upcycled Patio Furniture
The original finish that I picked for this project was a fabulous Rust & Patina finish, but it was just not as conducive to the surface area as I'd hoped. To create a great Rust finish it takes many layers and these chairs are mostly just 1” slats. After the first chair, I couldn’t make myself do the rest! It was just too small of a surface area for that many layers.
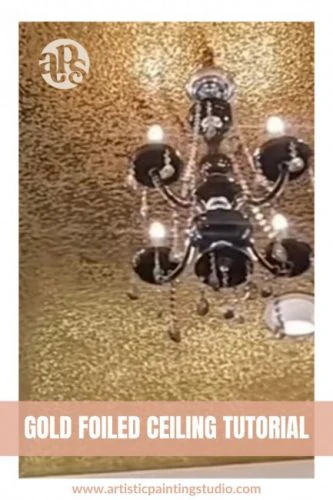
So after our newest foil “Pale Gold Fossil” arrived this past month, I thought it would be absolutely gorgeous on this patio set!
Let's get started on this Upcycled Patio Furniture...
All the chairs, other than the one that was already finished in the Rust finish, was prepped and ready to go. These are metal chairs, so I used a grinder to take off the old finish that had naturally rusted and then I primed with a Rust-Oleum primer to prevent rust from coming back, just in case I missed anything.

So I was ready to go...
Once your project is primed, you will apply one coat of my fabulous Foil Adhesive. I applied this with a brush. You will want to take a little bit of the foil adhesive out of the container and put it onto a foam plate. Next, you will add about 1-2% water to your foil adhesive. I always do this when brushing on the foil adhesive because it allows the mixture to brush on smoother. You will let the foil adhesive dry overnight and then come back and transfer your Pale Gold Fossil foil the next day.
To make the foiling easier...
I cut the foil into stripes about 1-2 inches wide. Once your Foil Adhesive is "dry", you will lay the foil onto the surface with the pretty side facing up (facing you) and scrub the backside until it transfers to the surface.

I started at the bottom and worked my way up. This foil is a super easy release and some of it can flake off the backing when it’s bent in different directions. If you work from bottom to top, these flaking pieces will not get stuck into the tacked foil adhesive.
Once you have covered the entire chair with foil...
Make sure to wipe it down with a soft rag to remove any little bits that didn’t adhere. Then you will want to seal your project. I used the Modern Masters MasterClear Topcoat to give great protection for exterior use. This set is going out on our patio, so I want it to be protected as best as possible.

I only have two chairs finished, but I am trying to find time to do the rest. Two chairs and a table to go, and we will be set for some outdoor entertaining this summer 😁
If you try out this technique, I would love to see your project!


