Sometimes you have awesome home décor items lying around the house but they need an update! This was a Pottery Barn chalkboard that received a few dings during a move and needed an update for the new home! I decided to turn it into my own custom DIY chalkboard and I am so excited to share this tutorial with you today.

Custom DIY Chalkboard
First, you are going to tape off the chalkboard so you don’t get any products on the surface of the actual chalkboard surface. Then you will paint the frame with Bondago paint/prime in the color black for a great base coat.
Next, grab some of your favorite foils and get to work!
First, you will apply our ArtsSyVille Foil Adhesive to the entire frame. Then I used a quilters ruler to mark off the corners so that I could get them all the same. I wanted the corners to have a different pattern than the rest of the frame.
Then I used our paper cutter to cut straight edges on four pieces of foil to do the corners with the Ramsey Rose Silver foil. I left those pieces of foil in place and then I applied our Cheetah Silver on the rest of the frame. I scrubbed all the Cheetah Foil on first.
Scrub one section at a time and release the carrier. Once all the sides are completed, then finish scrubbing the Ramsey Rose on the four corners. (Watch the video tutorial above for further instruction 😉)
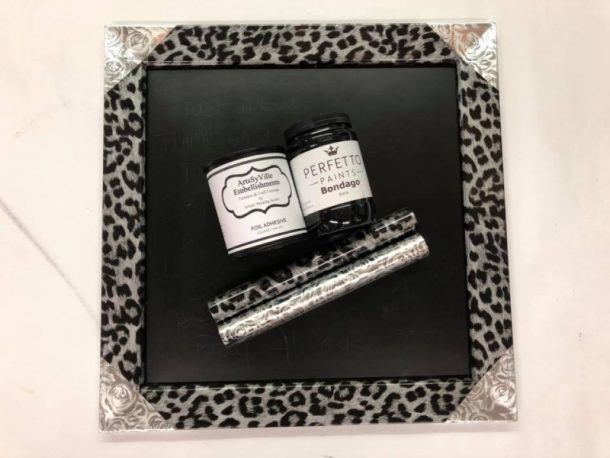
To protect your foils, you will want to seal them! I used Final Coat and applied several layers.
Hang up and enjoy your newly updated home décor and write fun notes for family and friends!!