We are all inspired by the many different things all around us every day. Sometimes it can be an ad, nature, fabric, or even someone else’s project.
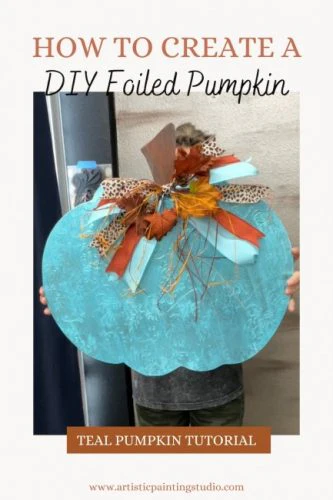
I was scrolling through Facebook when there was an ad for MacKenzie-Childs through Neiman Marcus. I have been a fan of MacKenzie-Childs for many years and still hope to own a few pieces someday! But these pumpkins were fabulous and I had to recreate them with some foils.

So grab yourself some pumpkins, and let's get started...
The small pumpkins that I used for this project were from Dollar Tree. I mean how can you beat a buck each, what a deal! They were all different colors, so I painted them all with Bondago Black. I love this stuff because it sticks to just about anything. I painted two coats and allowed this to dry overnight.
Once your base coat is dry...
Get your Foil Adhesive out and hand paint on the checks/squares. I made sure that the pumpkins had an even number of sections to have this would come out right. Start at the top and paint a small check/square and skip every other section, then move down a row and alternate the checks/squares.
I only painted on one coat of Foil Adhesive which was more of a distressed look which I really liked. If you want a more perfect release, then apply two coats of foil adhesive. Allow the first layer to dry and then apply a second coat.
Once your adhesive is dry...
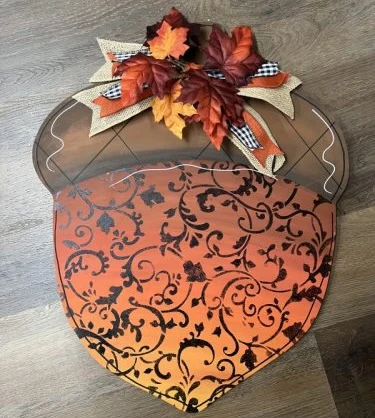
You can choose whichever foil color or pattern you want to transfer to your pumpkins. I used Copper, Orange, and TieDye Purple for my fun "Halloween" inspired collection. These pumpkins will be great for the entire fall season!

Product List:
- Plastic pumpkin from Doller Tree (You can also find them at Michael's or Hobby Lobby)
- Bondago Black Paint
- Foil Adhesive
- Foils
- Final Coat