I bet you're getting excited to start decorating your pumpkins for this fall season. Well, don't worry because we are too! The time of year when all our favorite fall colors and shapes come back around is finally here again.
Pumpkins in the grocery stores galore and carved Jack o'lanterns lighting up the streets on Halloween night! Let's take our pumpkin creativity up a notch and make ours stand out with some foils & glitter! We are so excited to create some DIY glitter & foiled pumpkins with you!
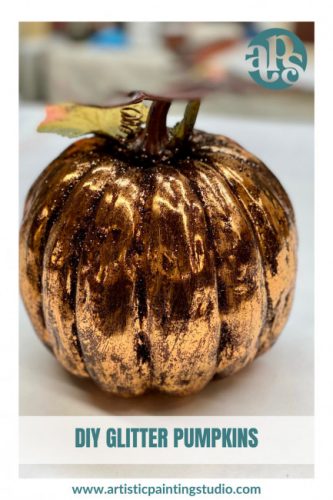
DIY Glitter Pumpkins
I found a great pumpkin from Hobby Lobby and base coated it in Bondago Black and allowed this to dry. Then apply a layer of our fabulous Foil Adhesive and allow this layer to dry for at least an hour.
I choose Copper Metallic Foil and cut a few pieces so I could do a section at a time. Place the pumpkin on one of the pieces so that it won't stick to anything else. Then apply a piece to the pumpkin with the copper foil facing up (you should be able to see the color) and scrub the foil with a plastic scrub brush.
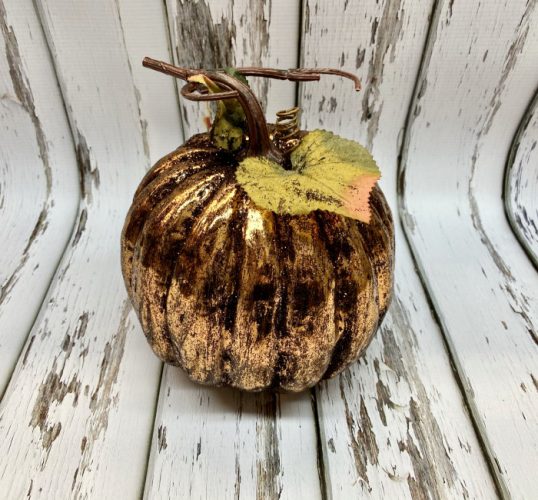
Keep applying a new section of foil, scrubbing it onto the surface until the entire pumpkin is covered with copper foil.
I left some of the base coat showing in the recessed areas and around the top of the pumpkin. These areas are still sticky and will work great with glitter. I applied our ash glitter over these areas to add a little extra bling! Just shake off the excess.


