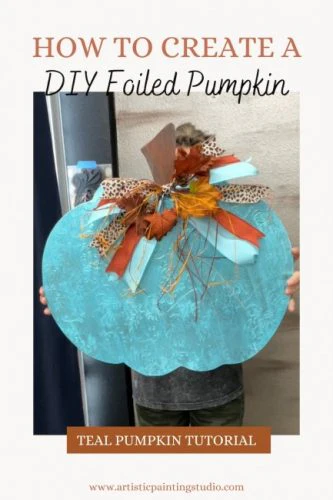
Do you love creating with your laser cutter? Ready to learn the basics of using foils with a laser cutter like Glowforge? After this tutorial, you will be an expert at glowFORGING with Foils.
glowFORGING with Foils
Are you ready to get started??
It’s best to foil your surface before you cut it and here is the process...
Basecoat the wood with black paint or another color that works great with your foil choice and allow this to dry. I recommend a paint/primer all in one like the Bondago we use here at Artistic Painting Studio.
Once your paint is dry...
Apply a layer of Foil Adhesive and allow this to dry for at least an hour. The longer you let it dry, the better.
Now that your foil adhesive is "dry"...
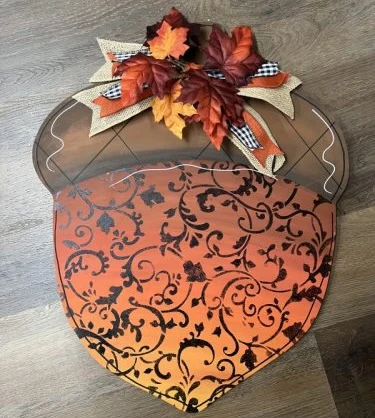
Apply your favorite foil color or pattern. You can do this by rubbing the foil with a cloth or scrubbing the foil with a scrub brush. When you apply your foil, make sure the "pretty side" is facing you.
You can either topcoat before cutting or after, but I think it would be easier to topcoat before.
Mask the surface and cut out your design or pattern.
That’s all folks...
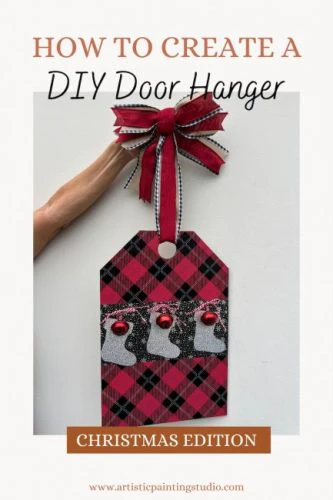
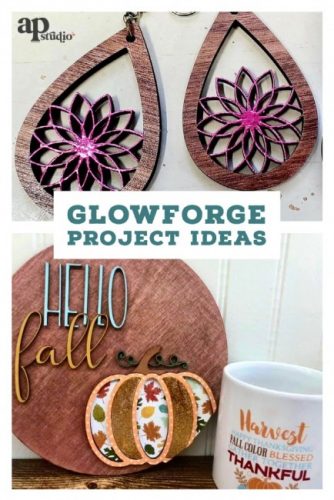
We have seen some of the most amazing designs and projects cut by Glowforge users. We are so excited to see what else y'all create using our foils.
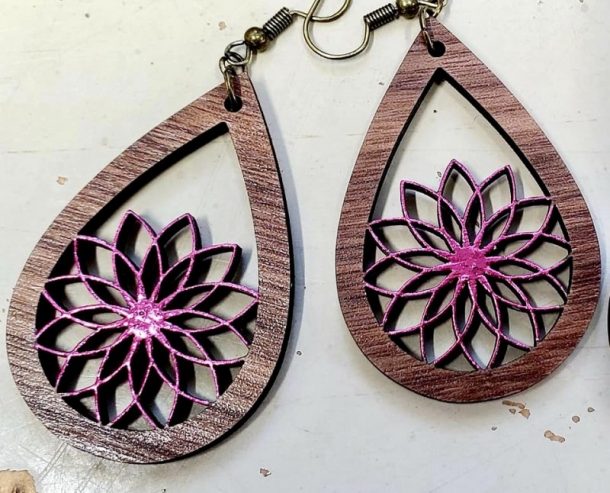
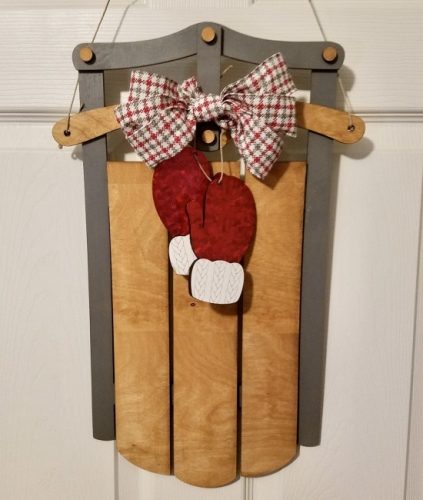
Here are a few Glowforge projects 😍
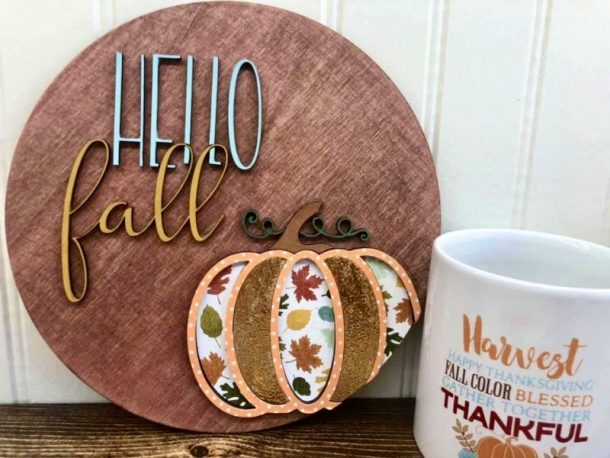
 by Alyssa Smith @ Opy's

If you are a fan of gloforging with foils, we want to see your projects! You can also join the amazing gloFORGING with Foils Facebook community created by our friend, Debi. Join, HERE.