So y’all must know by now that I’m having a love affair with Foils. Yes, it’s a complete obsession and I don’t think it’s going to end anytime soon! Today, I am going to tell you all about holographic foil :)
Foils are amazing and can be incorporated into just about any art, craft, surface, or project you are creating. I’m just blown away by our customers and all their amazing projects.

Holographic Foil
So... I thought we would explore some of the different types of foils. Today is all about holographic foil.
What is Holographic Foil?
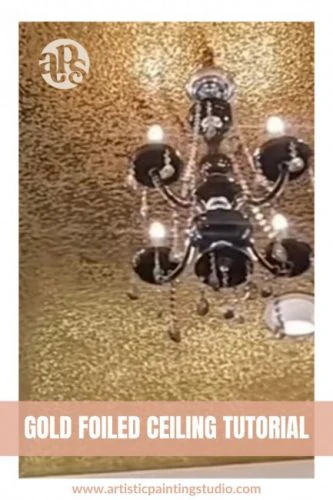
Holographic foil is made in the same way as metallic foils, but they include an embossed pattern that diffracts the light and shows the colors of the spectrum at different angles. There are many patterns and colors within the holographic foil collection.

With Holographic foils, somehow photography exaggerates the effect of the hologram, and the actual colors don't always show up very well in the photos.
There are two basic types of holographic foils, the first one is seamless. This means there is no pattern or shape in the hologram and the colors simply blend into each other. We carry these foils in gold, silver, and blue. We also have a directional effect foil referred to as Pillars and/or Rainbow.

The second type of holographic foil is patterned which indicates a large variety of shapes and designs in the hologram. Glitter, shattered glass, stars, squares, confetti, lines, sequins, and flowers to name a few. We actually have a very large collection of the holographic foils to choose from.

With all of our foils, we always suggest creating a sample first to determine the best base color to apply under the foil. Apply our amazing Foil Adhesive and allow it to dry for at least an hour. Then transfer your favorite foil (color/pattern side facing up) by rubbing/scrubbing the backside of the foil.
The possibilities are truly endless! What are you going to be creating with foils next?? I cannot wait to see your projects :)


